
1A. Plug into the appropriate power supply voltage.
1B. Make sure the Emergency Stop is not engaged and then turn on the power switch.
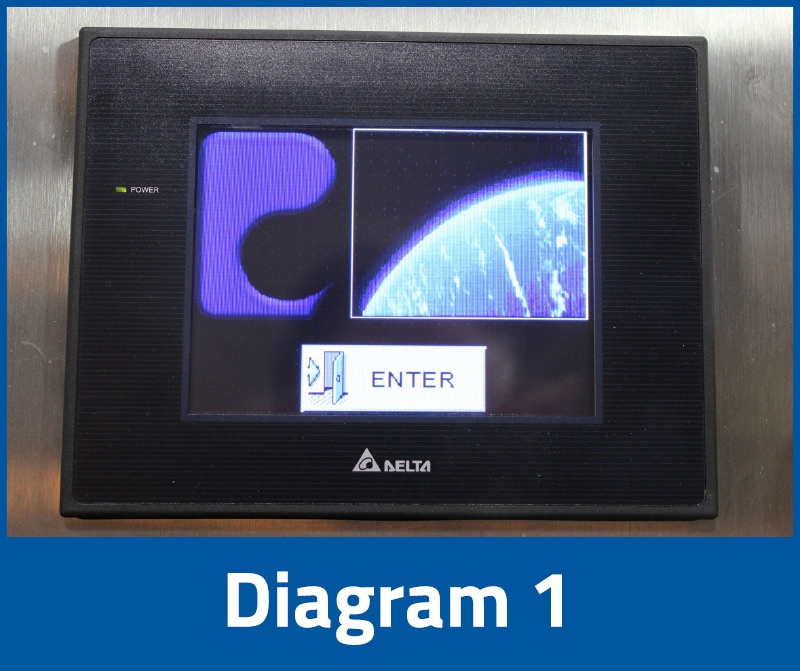
1C. The display will be shown as diagram 1.
1D. Press “Enter” to get into diagram 2.
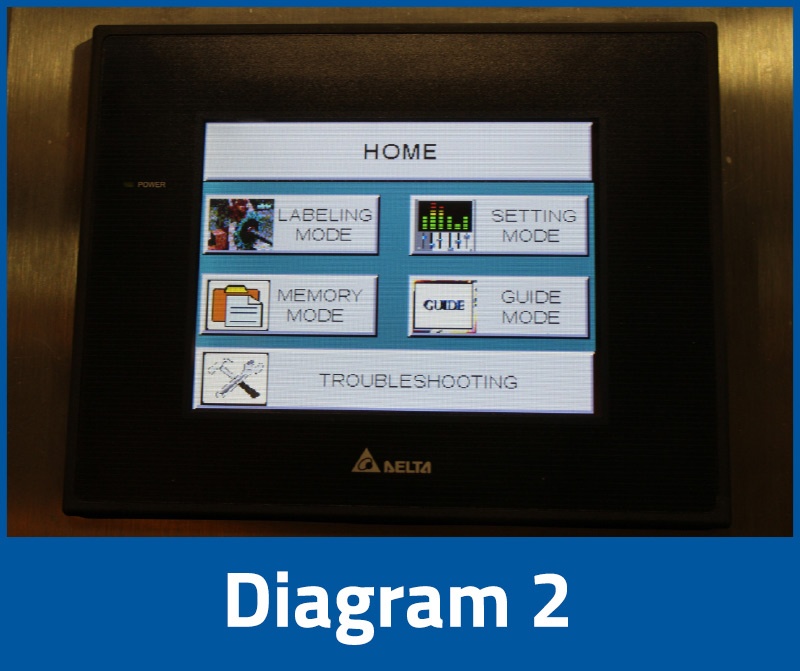
2A. Press “Guide Mode” to show machine operation instructions.
2B. Press “Setting Mode” to set up machine speed and printer options. See Diagram 3.
2C. Press “Memory Mode” to set up memory.
2D. “Labeling Mode” to enter diagram 4.
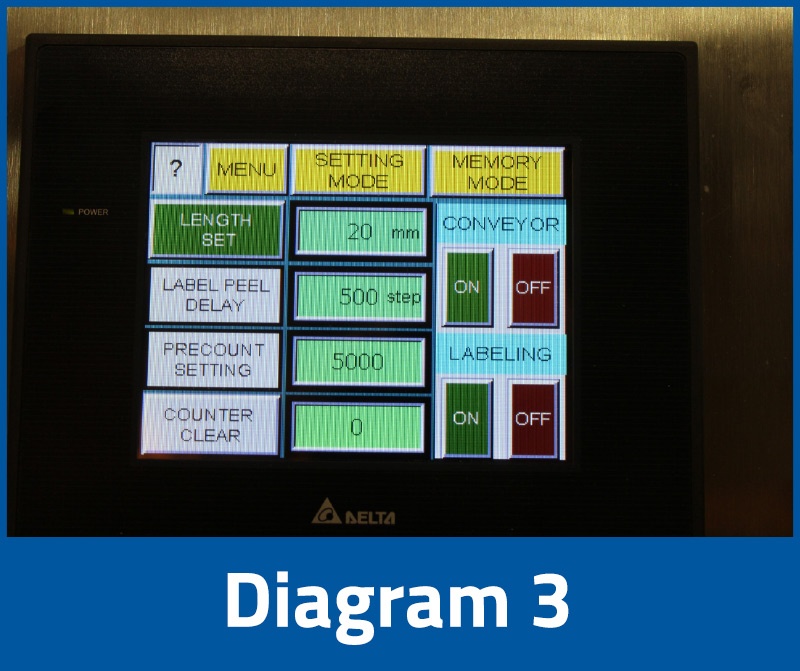
3A. To set the appropriate label length, press the “length set” icon. The number shown displays the label length (Length set is not the physical length of the label).
3B. Label length can also be set by the numerical keypad beside the "length set" button.
3C. Turn "CONVEYOR" and "LABELING" both ON to start the labeling process after the label length is set.
NOTE: When pressing the label length set icon, the label head will slowly pull the label until the finger is released. This icon confirms the label length. To reconfirm, check that the number is not zero (0). After checking, turn on the conveyor to start labeling. If the detached label is too long or too short, press the number icon and a keypad will appear. Using this keypad, select the length and position of the label and adjust to the proper position. It is important to turn off the conveyor first before selecting the new settings.
3D. Inspect that the label is in the appropriate position on the product. If not adjust the "LABEL PEEL DELAY". Decrease the value to apply sooner or increase to apply later.
NOTE: If the value shown on the screen is set to zero (0) this means there is no delay. Increasing the numeric value will delay the dispensing time and it will apply the label to the product later.
3E. Regarding the pre-count setting icon, input the required number of products needed to be labeled and turn on “Counter.” The conveyor will stop and the counter will reset to zero (0) automatically when the number of labels are reached.
NOTE: If the pre-counter is turned on, the pre-count set must have a number on the setting or the machine will not function.
3F. Turn ON the “Conveyor” to continue labeling.
3H. Press "Setting Mode" button to set up speed of conveyor, missing label set, and speed of printer.
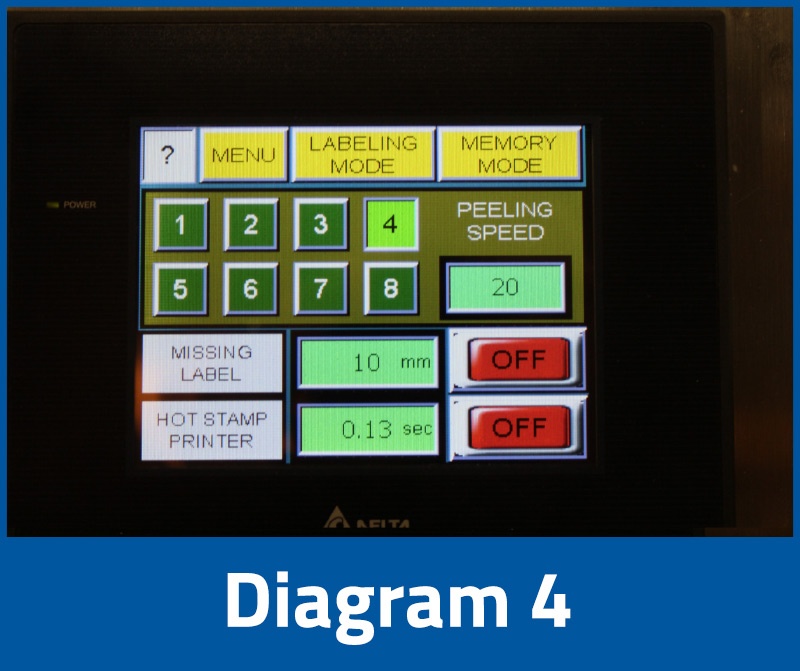
4A. Speed selection contains 8 levels of labeling speed.
4B. Key in value of “Missing Label” for the sensor to detect any missing labels.
4C. Turn ON the “Missing label” after value has been set in the Missing label area, wait for the diagram to display, and then the function will start.
NOTE: If the missing label set is ON, it must not be selected as zero (0). Normally it is set at about 80% of the label length. The machine will stop when there is a missing label on the label roll.
4D. For the printer speed set icon, turn ON when only using a printer. Press “HOT STAMP PRINTER” icon to set the required printing speed.
NOTE: If the printer setting is too long the speed will be slow. It depends on the transfer speed of the ribbon can tolerate. In setting the printing speed timing, the main consideration is the ribbon’s transfer speed.
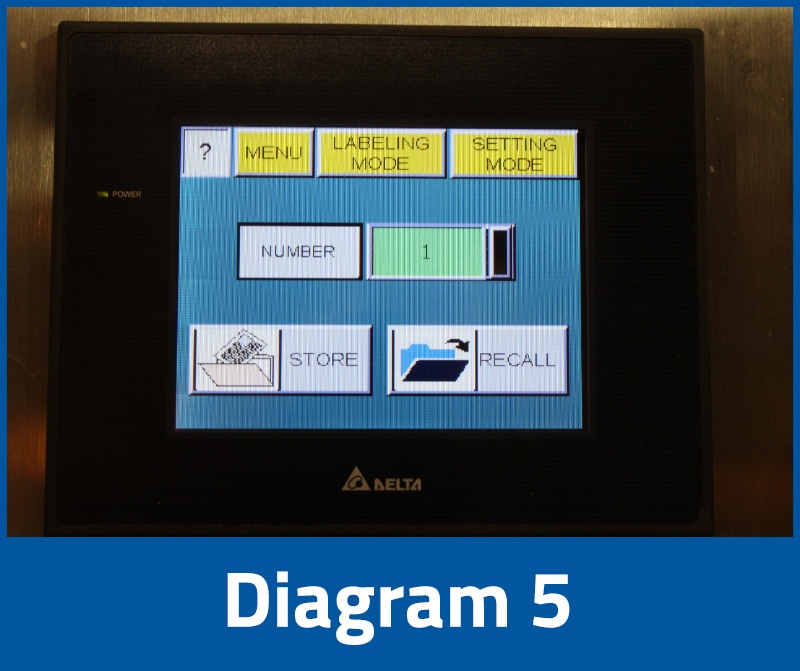
5. Storing memory and reading function: To save the present setting to a memory slot, go to the main menu and select memory. Press save and assign a valid memory slot of 0-30 to save the data. To recall, press read and the slot number to automatically load the data to the PLC.
NOTE: Label length, position delay, batch counter/on/off, printer speed/on/off, missing label on/off, and conveyor speed are all saved and loaded as a set of parameters in each slot of memory.